How to Restore Faded Gelcoat on a Boat

How to restore faded gelcoat on a boat

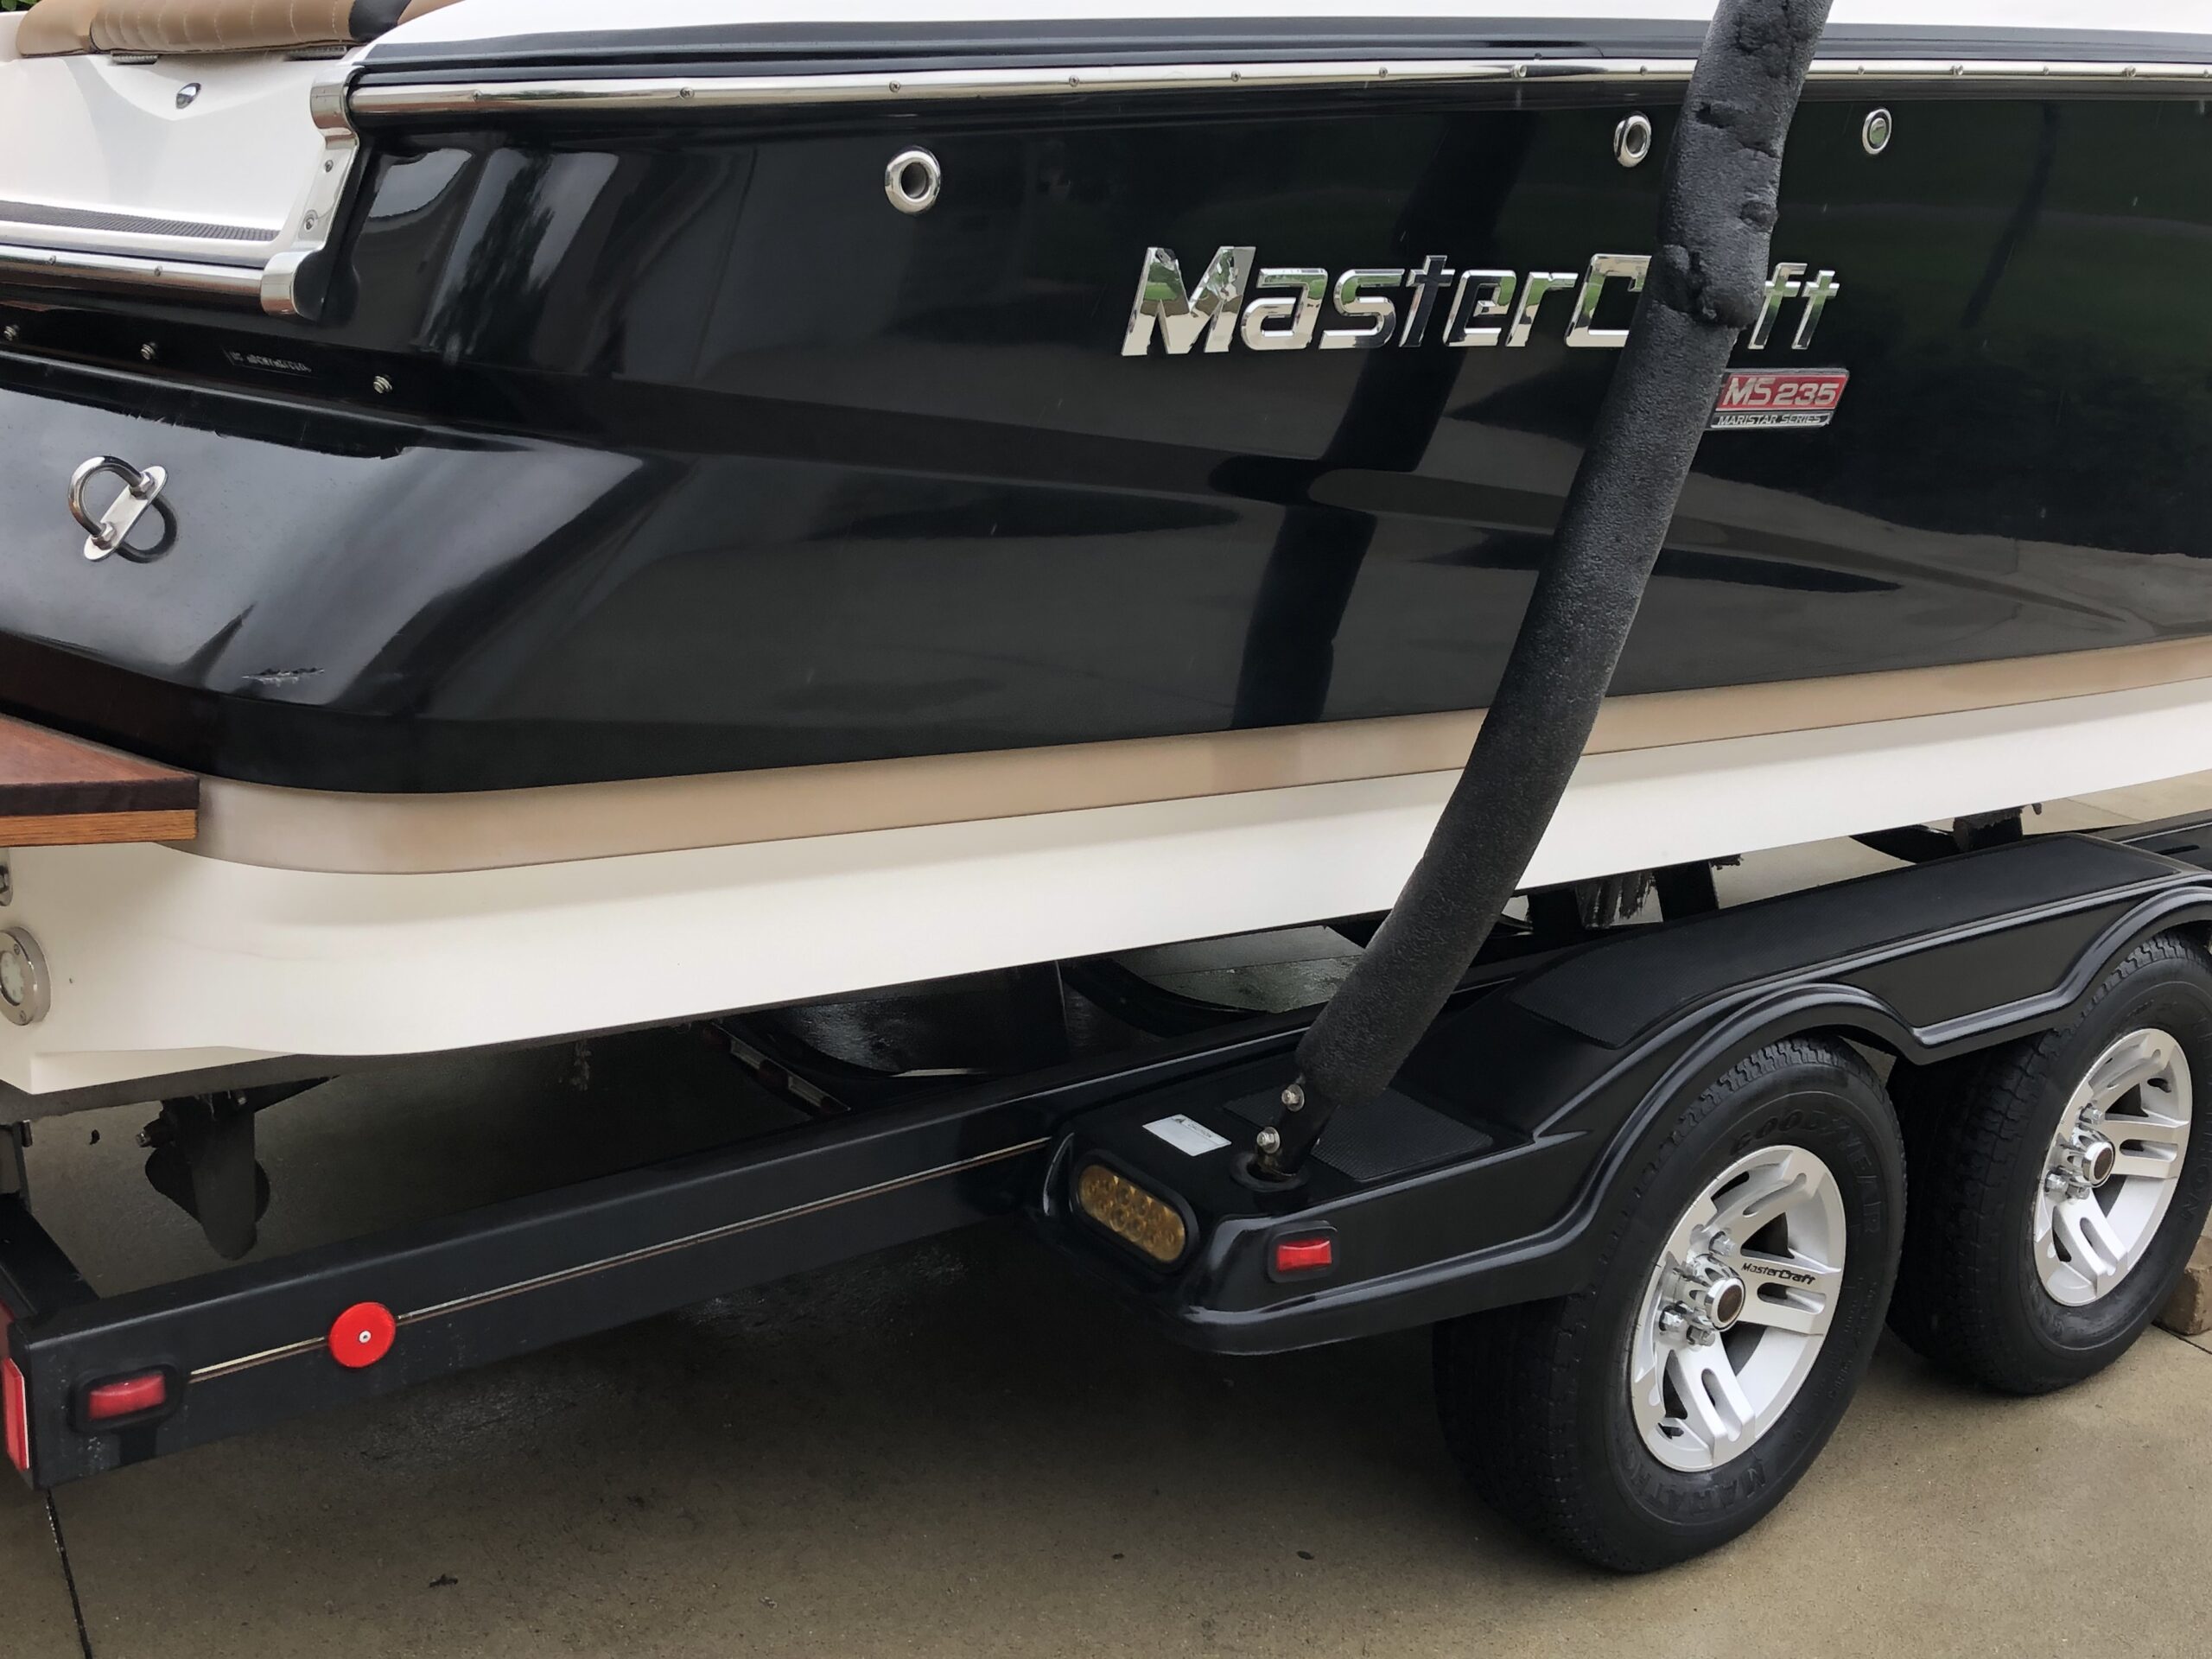
A gleaming boat hull isn’t just about aesthetics—it’s a testament to diligent care and maintenance. Over time, exposure to sun, salt, and water can dull your boat’s gelcoat, leaving it chalky and faded. Restoring that showroom shine is achievable with the right approach and tools.


Understanding Gelcoat and Its Degradation

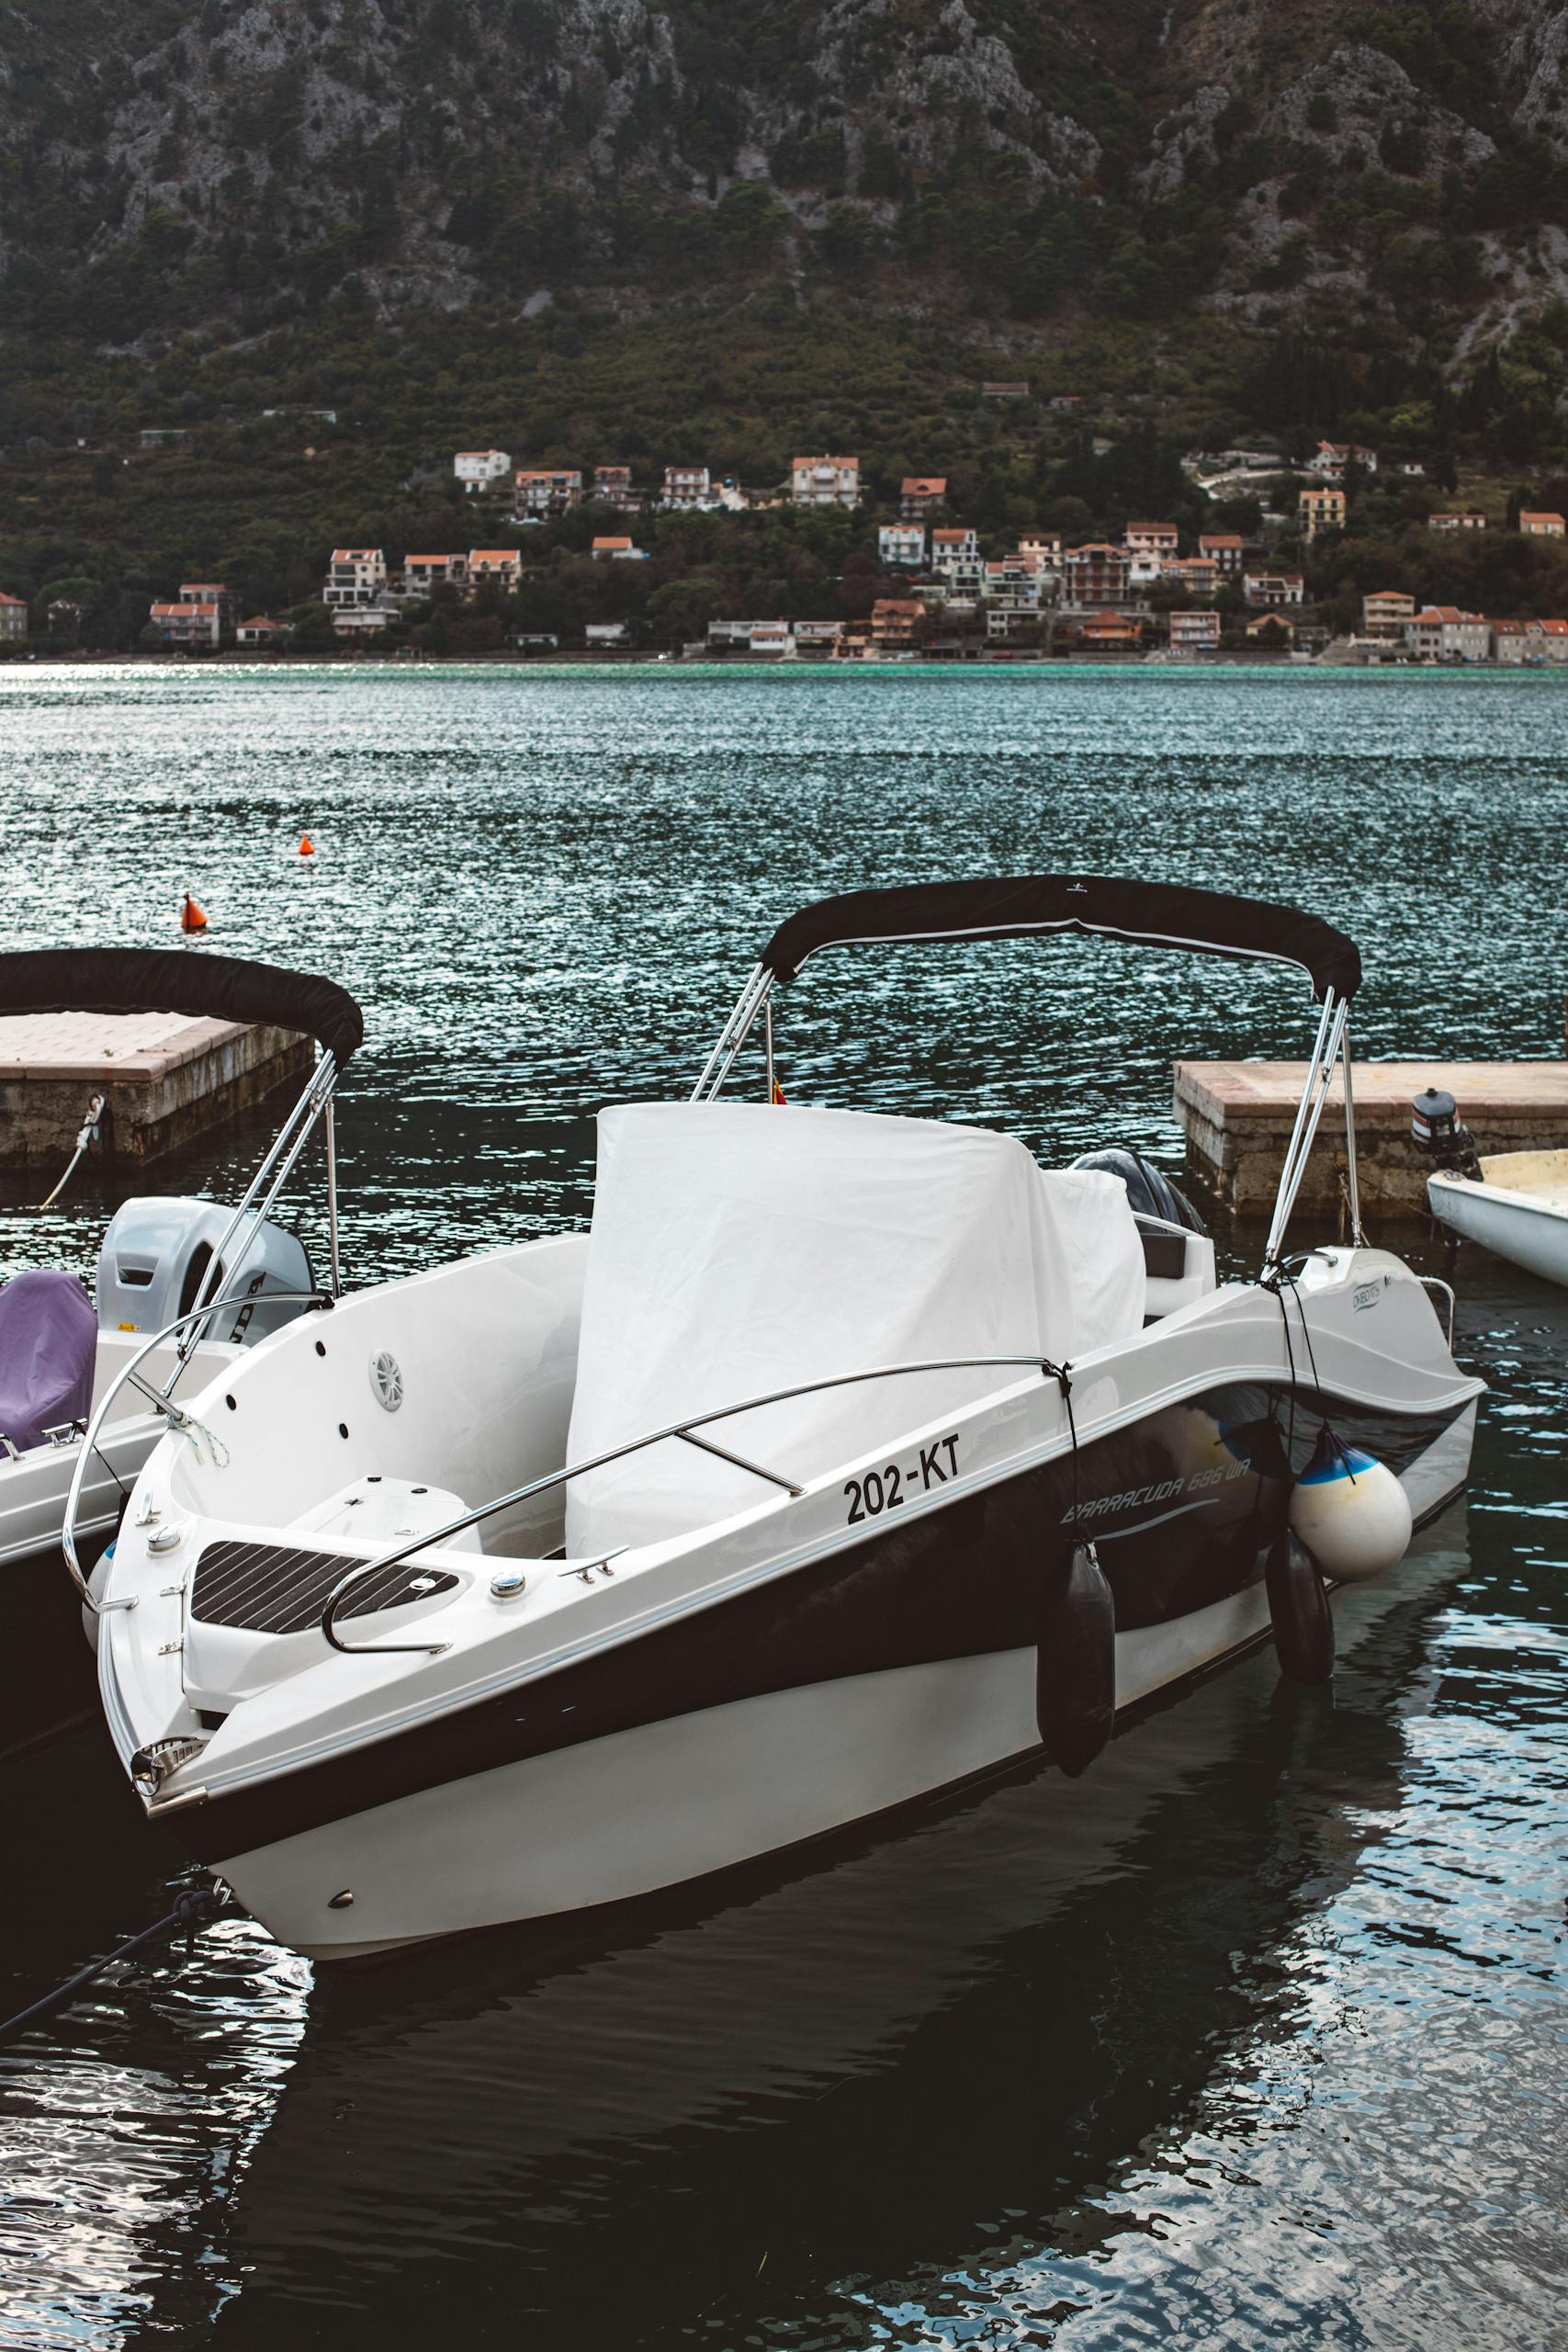
Gelcoat is the outermost layer on a fiberglass boat, providing a glossy finish and protecting the underlying structure. However, prolonged exposure to UV rays, saltwater, and environmental pollutants can cause oxidation, leading to a dull and faded appearance.


Can Faded Gelcoat Be Restored?

Absolutely. While severe degradation might require professional intervention, most faded gelcoats can be revitalized through a systematic process of cleaning, sanding, compounding, and waxing. The key is to assess the extent of the damage and choose the appropriate restoration method.

How to restore faded gelcoat on a boat

Step-by-Step Guide: How to Restore Faded Gelcoat on a Boat

1. Thorough Cleaning

Begin by washing the boat with a marine-grade soap to remove dirt, grime, and salt residues. For stubborn stains or mildew, a mixture of water and a boat-safe cleaner will help lift the grime.

2. Assess the Level of Oxidation

Light oxidation appears slightly chalky but still shows some shine. Moderate oxidation looks dull and powdery. Heavy oxidation is extremely faded and rough to the touch. Identifying this will determine how aggressive your restoration steps should be.

3. Wet Sanding (If Necessary)

If your gelcoat has deep oxidation or surface imperfections, wet sanding may be needed. Use 800 to 1200 grit sandpaper with water and gently sand in circular motions. Always test a small area first to avoid over-sanding.

4. Rubbing Compound Application

Apply a high-quality marine rubbing compound using a dual-action buffer or by hand with a microfiber cloth. This step removes oxidation and smooths the surface. Work in small sections and wipe clean with a soft towel.

5. Polishing

After compounding, use a marine polish to restore gloss and depth to the gelcoat. A foam pad on your buffer will give the best results. This brings back that deep, wet shine.

6. Waxing for Protection

Finish with a UV-resistant marine wax. This seals the gelcoat, protecting it from future sun damage and oxidation. Reapply wax every 3–6 months, depending on use and exposure.


How to Bring Gelcoat Back to Life?

Bringing faded gelcoat back to life requires a mix of patience, elbow grease, and the right tools. The transformation can be dramatic. Most oxidation is only surface-deep, and once removed, the gelcoat underneath still retains its strength and color.

If you’re not comfortable doing this yourself, we recommend reaching out to professionals who offer Boat Detailing Services. They use commercial-grade products and tools that make the process faster and safer for your vessel.


Common Mistakes to Avoid

  • Skipping the compounding step: Polish alone won’t remove oxidation.
  • Using household cleaners: These can damage gelcoat or leave residue.
  • Working in direct sunlight: Always work in a shaded area to prevent products from drying too fast.
  • Over-sanding: Be conservative. Too much sanding can cut through the gelcoat.
  • Neglecting future protection: Without wax or sealant, your boat will fade again quickly.

Can I Spray Gelcoat Over Old Gelcoat?

Technically, yes. You can spray new gelcoat over old gelcoat if the surface is properly prepped. However, this process is complex and often best left to professionals. The surface must be sanded thoroughly, cleaned, and sometimes primed. This isn’t the same as painting—it’s a full resurfacing process.

How to restore faded gelcoat on a boat

If you’re thinking about going this route, weigh the costs and time. In many cases, restoring your existing gelcoat through sanding, compounding, and polishing is a better option.


Boat Detailing in Columbus You Can Count On

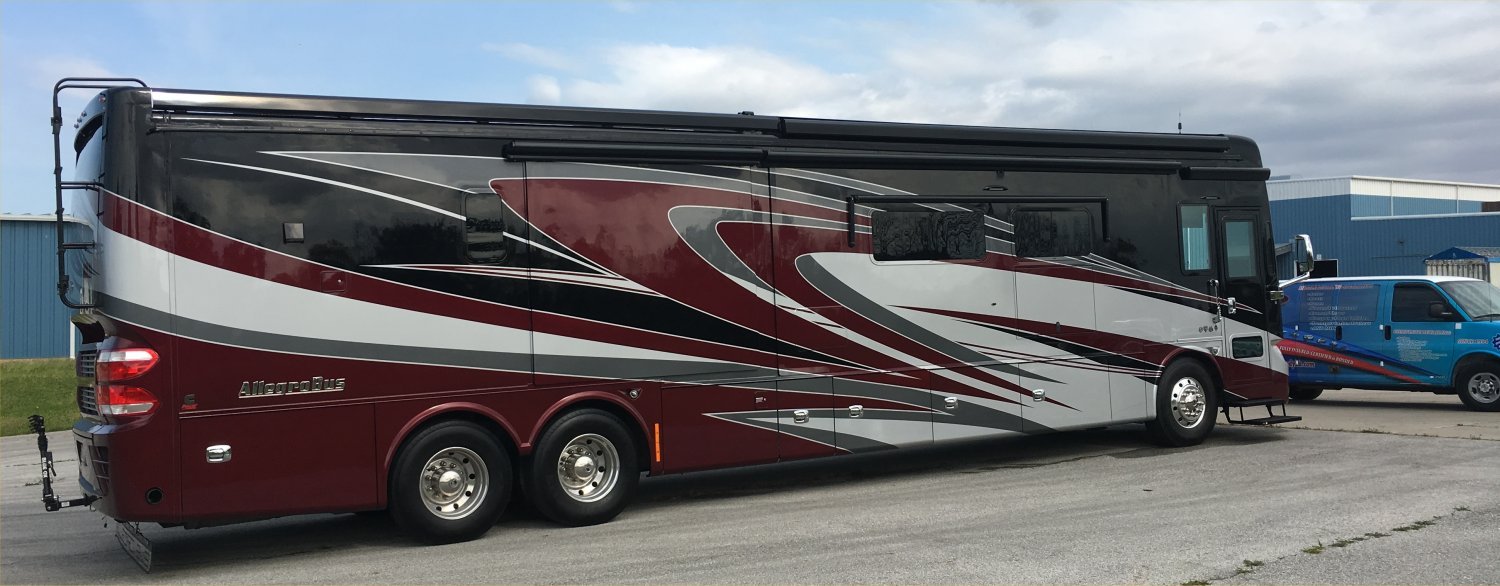
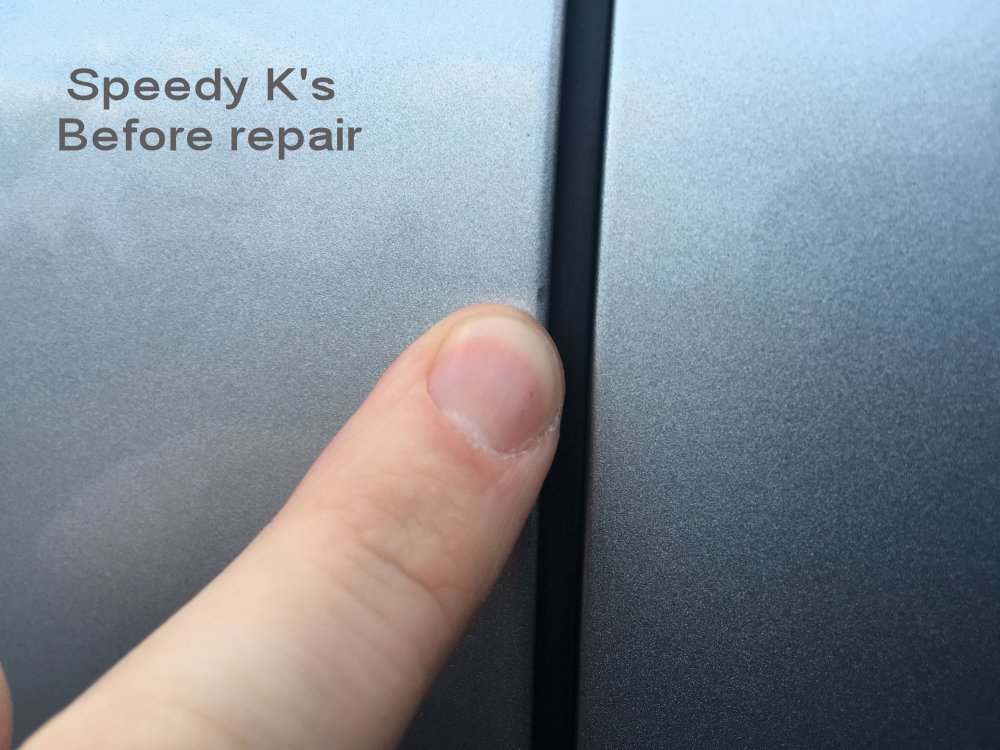
If you’re located in Ohio, Boat Detailing in Columbus is available through Speedy K’s. With over 25 years of experience, we come directly to your location—whether your boat is docked at Alum Creek or parked at your house. Our mobile boat detailing services handle everything from oxidation removal to ceramic coating.

Want to know what it might cost before you begin? Read our guide: How much does a full boat detail cost for a 25-foot boat?


Products You Might Need

  • Marine soap
  • Oxidation remover / Rubbing compound
  • Polish
  • UV-protectant marine wax
  • Dual-action buffer
  • Microfiber towels
  • Sandpaper (800–1200 grit)

Final Thoughts

Knowing how to restore faded gelcoat on a boat is more than just a cosmetic concern. It’s about preserving your investment and extending the lifespan of your vessel. The process requires effort, but the results are undeniably rewarding. Whether you do it yourself or hire professionals, a revived gelcoat finish adds value and pride to your boating experience.

What is the Average Cost to Detail a 35 Foot RV?

What is the Average Cost to Detail a 35 Foot RV?

If you own an RV, you know it’s more than just a vehicle—it’s your mobile home, your adventure vessel, your getaway on wheels. But did you know that RV Detailing is one of the most crucial investments to keep it looking sharp and lasting longer? The average cost to detail a 35 foot RV might surprise you, and understanding where that money goes can help you make informed choices and protect your RV’s value.

According to industry experts, regular detailing not only maintains your RV’s aesthetics but also adds years to its life. Still, many RV owners aren’t quite sure what detailing involves or why the price can vary so widely.


How much does it cost to detail the exterior of an RV?

The cost of detailing an RV can depend on several factors: the size of the RV, its condition, the type of service, and even your location. For a 35-foot RV, the average cost to detail a 35 foot RV ranges from $8 to $40 per linear foot. This puts the total between $280 and $1,400.

So why such a wide range? It’s all about the level of service. A basic wash might only cost $8 to $10 per foot. But a complete exterior wax, RV Roof and Awning Cleaning, oxidation removal, and polishing? That’s where the price climbs—rightfully so.

The type of materials used also matters. Ceramic coatings, paint protection treatments, and premium waxes cost more upfront but provide long-term protection and shine. Professionals like those at Speedy K’s offer tailored detailing services for RVs that match your specific needs.


What does detailing an RV include?

When we say “detailing,” we’re talking about more than just a hose-down. Comprehensive RV Detailing includes:

  • Full-body hand wash
  • Bug and tar removal
  • RV Roof and Awning Cleaning
  • Oxidation removal
  • Exterior waxing and polishing
  • Window and mirror cleaning
  • Tire and wheel detailing
  • Slide-out cleaning

Interior detailing can also be added, which includes:

  • Carpet and upholstery shampooing
  • Dashboard and console cleaning
  • Sanitizing kitchens and bathrooms

The goal? To make your RV feel brand new inside and out.

If you’re unsure which cleaning methods are best for your RV, check out What Should I Use to Clean the Exterior of My RV? A Comprehensive Guide to RV Detailing.


Average Cost to Detail a 35 Foot RV: What You Should Expect

Let’s break it down further. Here’s a more detailed pricing table for a 35-foot RV:

Service TypeEstimated Cost
Basic Wash Only$280 – $350
Wash & Wax$525 – $875
Full Exterior Detail$700 – $1,200
Add Interior Cleaning$250 – $400 extra

The average cost to detail a 35 foot RV typically lands between $800 and $1,400 for both exterior and interior services. If you’re looking for high-end protection such as ceramic coating, expect to pay more—but it could save you hundreds on future maintenance.


Detailing Services for RVs: Why It’s Worth It

Why invest in professional detailing services for RVs? Because it protects your investment.

Harsh UV rays, road grime, salt, tree sap, and bird droppings all eat away at your RV’s finish. Regular detailing not only maintains your RV’s appearance but helps avoid costly repairs down the line.

Professional services like those from Speedy K’s use top-grade tools and products, ensuring everything from your slide-outs to your roof vents are properly cleaned and protected.


What factors influence RV detailing prices?

Aside from the RV size, here are key factors that determine the final cost:

  • Condition: Oxidation, mold, or algae buildup can require more labor.
  • Location: Prices vary depending on your area and local demand.
  • Type of service: Are you getting just a wash, or full RV Detailing with all the bells and whistles?
  • Frequency: Regular detailing might get you a discount, especially from a provider like Speedy K’s, who often rewards loyal customers.

And don’t forget: a clean RV gets better resale value. It’s not just about aesthetics—it’s a smart financial move.


RV Roof and Awning Cleaning: An Overlooked Necessity

Your RV’s roof is exposed to the elements 24/7. And if you’re like most owners, it’s probably not something you think about until you spot a leak. Routine RV Roof and Awning Cleaning helps prevent major issues like water damage, mold, and cracked seals.

What is the Average Cost to Detail a 35 Foot RV?

Most professionals recommend roof cleaning at least twice a year. While it’s often included in full-detail packages, you can also request it as a standalone service.

Get more insights on RV maintenance from RV Life—they offer excellent guides on seasonal care.


Can I save money by detailing my RV myself?

You can, but it’s not for the faint of heart. DIY detailing a 35-foot RV can take 10-15 hours and may require ladders, special cleaners, and more physical effort than expected.

If you’re experienced and have the right equipment, go for it. But keep in mind that a missed spot or the wrong cleaner could damage your finish. And you probably won’t match the results of a pro with years of experience.


How often should you detail your RV?

For the best protection and appearance, most experts suggest detailing your RV every 6-12 months. If you use it often or store it outdoors, more frequent detailing is a good idea.

At Speedy K’s, we recommend seasonal detailing packages that ensure your RV is road-ready and protected from environmental wear.


Final Thoughts: Is RV Detailing Worth the Cost?

Absolutely. The average cost to detail a 35 foot RV is a smart investment when compared to the long-term savings on repairs, repainting, or mold removal. You wouldn’t skip maintenance on your home—your RV deserves the same attention.

Let us help you keep your RV looking sharp and road-ready. Learn more about our RV Detailing packages and schedule a mobile appointment today.

How much does a full boat detail cost for a 25-foot boat?

Ever wondered, how much does a full boat detail cost for a 25-foot boat? Maintaining your vessel’s pristine condition isn’t just about aesthetics; it’s about preserving its value and ensuring longevity. But what does a comprehensive detailing entail, and how much should you expect to invest? Let’s dive in.

How much does a full boat detail cost for a 25 foot boat?

Understanding Boat Detailing Services

Boat detailing is more than just a wash; it’s a meticulous process that rejuvenates both the interior and exterior of your vessel. From cleaning and polishing to protecting surfaces, boat detailing services ensure your boat remains in top-notch condition.

Boat Exterior Detailing

This involves washing, waxing, and polishing the hull to remove grime, oxidation, and minor scratches. A well-executed exterior detail not only enhances appearance but also provides a protective layer against environmental elements.

Boat Interior Detailing

Cleaning the cabin, upholstery, carpets, and other interior components ensures a comfortable and hygienic environment. Attention to detail here can prevent mold growth and unpleasant odors.

Engine and Bilge Cleaning

A thorough cleaning of the engine compartment and bilge area can improve performance and prevent potential issues caused by accumulated debris.

How much does a full boat detail cost for a 25 foot boat?

Factors Influencing the Full Boat Detail Cost for a 25-Foot Boat

Several elements can affect the pricing of professional boat detailing services:

  • Boat Size: Larger vessels require more time and materials, leading to higher costs.
  • Condition: A boat that’s been neglected will need more intensive work compared to a well-maintained one.
  • Services Required: Additional services like oxidation removal, teak restoration, or ceramic coating can increase the overall price.
  • Location: Prices can vary based on regional demand and the availability of detailing services.

Average Cost Breakdown

For a 25-foot boat, detailing costs can vary based on the services provided. Here’s a general breakdown:

  • Basic Wash: A simple wash-down might cost around $2 to $5 per foot, totaling $50 to $125.
  • Deep Wash/Maintenance Wash: This involves a more thorough cleaning, including compartments and bilge areas, typically ranging from $10 to $20 per foot. yachte.co
  • Full Detailing: Comprehensive services, including exterior polishing and interior cleaning, can range from $15 to $40 per foot. boatdriving.org

Therefore, for a 25-foot boat, a full detail might cost between $375 and $1,000, depending on the factors mentioned above.

Benefits of Professional Boat Detailing Services

Investing in professional boat detailing services offers several advantages:

  • Enhanced Appearance: A detailed boat looks as good as new, turning heads at the marina.
  • Increased Longevity: Regular maintenance prevents wear and tear, extending the boat’s lifespan.
  • Higher Resale Value: A well-maintained boat retains its value better, fetching a higher price if you decide to sell.
How much does a full boat detail cost for a 25 foot boat?

DIY vs. Professional Detailing

While some boat owners opt for DIY detailing to save money, it’s essential to consider the time, effort, and expertise required. Professional detailers have the tools and knowledge to address specific issues, ensuring a thorough job. Moreover, certain tasks, like oxidation removal or gel coat restoration, are best handled by professionals to avoid potential damage.

Finding the Right Detailing Service

When selecting a detailing service, consider the following:

  • Experience: Choose a company with a proven track record in boat detailing.
  • Services Offered: Ensure they provide the specific services your boat requires.
  • Reviews and Testimonials: Look for positive feedback from previous clients.
  • Pricing: While cost is a factor, don’t compromise on quality for a lower price.

Conclusion

Understanding the full boat detail cost for a 25-foot boat helps in budgeting and ensures your vessel remains in optimal condition. Regular detailing not only enhances the boat’s appearance but also contributes to its longevity and value.

What Should I Use to Clean the Exterior of My RV? A Comprehensive Guide to RV Detailing

Owning an RV offers the freedom to travel and explore at your own pace, but to keep it looking its best, you need to take care of its maintenance. The exterior of your RV is exposed to various environmental elements like dirt, grime, bugs, and the sun’s UV rays. Keeping it clean not only maintains its appearance but also helps protect its surfaces. What should I use to clean the exterior of my RV? This is a common question among RV owners, and in this blog post, we’ll walk through the best cleaning products, tools, and methods to keep your RV looking like new.

The Basics of RV Detailing

Before diving into the specifics of RV detailing, it’s essential to understand why exterior cleaning is so important. Detailing your RV regularly can help protect it from wear and tear, extend the lifespan of its components, and preserve its value. Neglecting the exterior can lead to issues like oxidation, fading, and a buildup of grime that could be challenging to remove later on.

What Should I Use to Clean the Exterior of My RV

To get started with exterior cleaning, you’ll need to know what cleaning products are best suited for RVs, as well as the tools that will help you achieve a flawless finish.

What Should I Use to Clean the Exterior of My RV?

Choosing the Right Cleaning Products

When cleaning the exterior of your RV, you need products that are specifically designed for RVs. Standard car washes can be too harsh and may cause damage to the RV’s exterior over time. Here are some cleaning products that should be part of your detailing routine:

What Should I Use to Clean the Exterior of My RV
  1. RV-Specific Detergents: Look for detergents that are biodegradable and free of harsh chemicals. RV-friendly washes are formulated to be tough on dirt but gentle on your vehicle’s finish. A quality RV wash will also help protect the paint and finish from fading.
  2. Bug and Tar Removers: Bugs and tar are common on the front of an RV after long drives. Special bug removers are essential to break down these tough stains without harming the surface. Be sure to use a soft sponge or cloth to avoid scratches.
  3. UV Protectants and Polishes: The sun’s UV rays can cause significant damage to the RV’s paint over time. After cleaning, apply a UV-protectant polish or wax to shield the surface from fading and cracking. A good wax also provides a sleek, shiny finish.
  4. Wheel and Tire Cleaner: The wheels and tires can accumulate dirt and grime, affecting the overall appearance of the RV. Make sure to use a product designed for tires and rims to restore their shine and remove brake dust.
  5. All-Purpose Cleaner: For general cleaning of the RV’s exterior, use an all-purpose cleaner that is safe for fiberglass, aluminum, or whatever material your RV is made of. This is especially important for cleaning non-painted areas like the undercarriage or roof.

Using these products will ensure that your RV is properly maintained, and the exterior remains protected against the elements.

Tools You’ll Need for RV Exterior Cleaning

Having the right tools is just as important as using the right products. Here are some essential tools that you’ll need to clean your RV effectively:

  1. Soft Brushes or Sponges: A soft-bristled brush or sponge is crucial to avoid damaging the RV’s paint job. Brushes with long handles are helpful for reaching the roof and other high spots.
  2. Microfiber Towels: Microfiber towels are perfect for drying and polishing the exterior without leaving streaks or scratches. They also absorb more water than regular towels.
  3. Squeegee: A squeegee is ideal for removing excess water from large, flat surfaces. This helps prevent water spots from forming on the surface.
  4. Step Ladder: RVs are tall, and cleaning the roof or upper parts can be difficult. A step ladder will help you reach all areas safely.
  5. Pressure Washer (Optional): If you’re dealing with stubborn grime or need to clean large areas quickly, a pressure washer can be a helpful tool. Just be cautious not to use too much pressure, as this can damage the RV’s surfaces.

By equipping yourself with these cleaning tools, you’ll be able to clean your RV efficiently while minimizing the risk of damage.

Detailing Services for RVs: Should You Hire a Professional?

While DIY cleaning can save you money, some RV owners may prefer to hire detailing services for RVs for a more thorough clean. Professional RV detailing services usually include both exterior and interior cleaning, waxing, and sometimes even ceramic coating. If you’re looking for a deep, long-lasting clean, hiring professionals can be a worthwhile investment.

What Should I Use to Clean the Exterior of My RV

Professional detailers have the experience and equipment necessary to tackle tough stains, oxidation, and other exterior issues. They also use high-quality products designed to protect your RV for the long term. If you’re unsure about how to properly clean your RV or lack the time to do it yourself, a professional detailing service can take care of it for you.

What is RV Ceramic Coating?

Another option for maintaining the exterior of your RV is applying RV ceramic coating. Ceramic coating creates a protective layer over your RV’s surface, which helps to repel water, dirt, and other contaminants. It also enhances the shine and makes future cleaning easier. While this process requires professional application, the results are well worth it for those looking for maximum protection and durability.

The best part? Ceramic coating can last for months or even years with proper care, making it a cost-effective option in the long run.

How to Clean Specific Areas of Your RV

Cleaning an RV requires a thorough approach, and some areas may need more attention than others. Here are a few tips on how to clean specific parts of your RV:

Roof

The roof of your RV is often overlooked, but it’s one of the most important areas to clean. Regular cleaning prevents debris buildup, which can cause damage to seals and other components. Use a gentle roof cleaner and a long-handled brush to scrub away dirt, leaves, and other debris.

Windows

RVs have a lot of windows that are susceptible to smudges and dirt. Use a non-abrasive glass cleaner that’s safe for RV windows. Be careful when cleaning around seals, as harsh chemicals can cause them to deteriorate.

Awnings

Awnings can collect dirt, leaves, and even mold, so it’s essential to clean them regularly. Use a specialized cleaner for fabric or vinyl awnings and a soft brush to scrub away debris. Rinse thoroughly to ensure no cleaner residue remains.

What Should I Use to Clean the Exterior of My RV

Maintaining Your RV’s Exterior Between Cleanings

After you’ve cleaned your RV’s exterior, there are a few steps you can take to maintain its cleanliness and protect its finish:

  1. Regular Touch-Ups: Keep a microfiber cloth handy to quickly wipe away any dirt or water spots that might accumulate between washes.
  2. Cover Your RV: If you’re storing your RV for a long period, consider using a cover to protect it from dust, bird droppings, and the elements.
  3. Apply Wax or Sealant: Reapply wax or sealant every few months to ensure continued protection against the sun and other harsh elements.

By following these tips and regularly cleaning your RV, you can keep its exterior looking pristine and protected for many years to come.

Conclusion

When it comes to keeping your RV looking its best, regular cleaning and maintenance are key. From choosing the right products to using the proper tools, what you use to clean the exterior of your RV makes a big difference in its appearance and longevity. Whether you choose to tackle the job yourself or hire professional detailing services for RVs, the goal is the same: to maintain and protect your RV for future adventures.

For more expert advice on RV maintenance, check out this guide on RV detailing tips.

DOES CERAMIC COATING PREVENT SCRATCHES AND CHIPS?

What is Ceramic Coating, and How Does it Work?

Ceramic coating is a liquid polymer applied to a car’s exterior. Once applied, it bonds chemically with the vehicle’s paint, forming a semi-permanent protective layer that can last for years. Unlike wax or sealants that merely sit on the surface, ceramic coatings form a microscopic bond with the paint, adding a hydrophobic (water-repelling) quality that protects the car from dirt, water spots, and minor abrasions.

Can Ceramic Coating Prevent Scratches and Chips?

Ceramic coating does help resist minor scratches and small abrasions by creating a layer of protection that keeps the vehicle’s paint from directly interacting with external materials. However, it’s crucial to understand that it does not make a vehicle fully scratch-proof or chip-proof. Although many ceramic coatings are advertised as having high levels of hardness (often rated at 9H), this rating does not mean they provide an impenetrable shield.

Ceramic coating protects against scratches and chips, but it doesn’t prevent all damage. When it comes to larger impacts, such as rocks kicked up on highways, ceramic coatings may be less effective at preventing chipping or significant scratching.

How Does Ceramic Coating Help with Minor Damage?

The layer created by ceramic coating is incredibly thin yet durable, and it acts as a first line of defense. Here’s how it helps:

  • Scratch Resistance: The ceramic coating’s hardness can shield the paint from light scratches caused by minor abrasions. It won’t prevent scratches from hard impacts (like those from rocks), but it can reduce minor scratches from things like accidental brushes with soft objects or minor abrasions from dust particles.
  • Chip Resistance: When dealing with small debris, the ceramic coating layer can act as a cushion to reduce the likelihood of minor chipping, but it will not stop larger or high-velocity impacts from penetrating through to the paint.

Limitations of Ceramic Coating in Scratch and Chip Protection

While ceramic coatings offer enhanced resistance to minor scratches and light damage, they are not foolproof. For example, they are not designed to protect against major physical impacts, such as those from stones or significant abrasive forces. For more comprehensive protection, options like paint protection film (PPF), which is thicker and better suited for absorbing impacts, might be necessary. This protective layer can be paired with ceramic coating for added durability and a glossy finish.

Does ceramic coating prevent scratches and chips?

Factors That Affect Ceramic Coating’s Effectiveness

  1. Application Quality: A professional application ensures that the coating adheres well and provides optimal protection. Improper application can leave areas vulnerable to scratches and chips.
  2. Layer Thickness: Some high-end ceramic coatings allow for multiple layers, which can enhance protection and increase the coating’s longevity.
  3. Maintenance and Care: Proper washing and detailing techniques help maintain the coating’s integrity. Improper washing techniques, such as using abrasive cloths, can damage both the coating and the underlying paint.
  4. Environmental Factors: Harsh environmental conditions, such as those involving sharp debris, extreme temperatures, and strong chemicals, can wear down ceramic coatings more quickly. Regular upkeep can help maintain their protective properties.

Why Choose Ceramic Coating?

Despite its limitations in preventing deeper scratches and chips, ceramic coating remains an excellent investment for car owners due to its various benefits:

  • Hydrophobic Properties: The coating repels water and dirt, making the car easier to clean and less likely to accumulate grime that could cause surface damage.
  • Enhanced Shine: The glossy finish that ceramic coating provides can give the car a brand-new, polished appearance that lasts longer than standard waxing.
  • UV Protection: Ceramic coatings can protect the paint from oxidation and fading caused by sun exposure.

The Role of Ceramic Coating in Car Scratch and Chip Repair

While ceramic coating doesn’t replace car scratch and chip repair, it does serve as an initial layer of defense that reduces the likelihood of needing frequent touch-ups. For cars that are prone to light scratching and minor chipping, it’s a valuable addition, helping maintain the car’s appearance longer and reducing the frequency of repainting or repairs.

When to Consider Additional Protection

For areas prone to heavy wear and tear, such as the front bumper or hood, a combination of ceramic coating and paint protection film (PPF) is often recommended. While PPF offers a more robust shield against rock chips and larger impacts, ceramic coating enhances gloss, water resistance, and ease of maintenance.

Final Thoughts on Ceramic Coating for Scratch and Chip Prevention

In summary, ceramic coating helps protect against minor scratches and chips but doesn’t make a vehicle completely immune to damage. For car owners seeking to maintain their car’s shine and reduce surface-level damage, ceramic coating is a great choice. But if deeper protection is needed—such as for off-roading or heavy commuting—additional protective layers like PPF may be worth considering.

Read more about the benefits of ceramic coatings and alternatives here.

SHOULD I HIRE A DETAILER AHEAD OF AN AUTO SHOW?

Auto shows are an opportunity to make a lasting impression. If you’re planning to show off your prized vehicle, you’ve likely asked yourself, “Should I hire a detailer before the show?” The answer is a definitive yes. Let’s break down why professional detailing is essential and how it can elevate your car’s presence at the event.

LUXURY AUTO DETAILING: IT’S MORE THAN JUST A WASH

When it comes to prepping for an auto show, Luxury Auto Detailing isn’t just about giving your car a routine clean. The detailing process involves meticulous attention to every aspect of the vehicle—from removing minor imperfections to ensuring that the paint has a flawless, glossy finish. Show attendees, judges, and enthusiasts all notice the finer details, and that’s where the expertise of professional detailers comes in.

Hiring a professional means having someone with the right skills, tools, and techniques to ensure your car shines in all the right ways. Here are just a few benefits of hiring a detailer ahead of your big event.

WHY DETAIL YOUR CAR BEFORE AN AUTO SHOW?

  1. First Impressions Matter
    At an auto show, your vehicle is your statement piece. One look from the judges or audience could mean the difference between admiration and indifference. A high-quality detailing job can enhance the aesthetic appeal of your vehicle, ensuring that it looks as good as, or better than, new.
  2. Luxury Auto Detailing Elevates Paintwork
    Scratches, swirl marks, and other minor blemishes on the paint can significantly detract from your car’s beauty. Detailers specializing in Luxury Auto Detailing know how to polish away imperfections, giving the paintwork a deep, mirror-like gloss that stands out.
  3. Attention to Every Detail
    From the engine bay to the undercarriage, professional detailers leave no stone unturned. They clean and polish every nook and cranny, so your car is spotless inside and out, enhancing its overall presentation for the show.
  4. Increase Your Chances of Winning
    The extra touch of upscale auto detailing can make all the difference in a judge’s score. Cars that have been carefully detailed often have a better chance of standing out in a crowded field. Professional detailing shows that you’re serious about your presentation.

WHEN SHOULD YOU SCHEDULE YOUR DETAILING SERVICE?

Timing is key when it comes to events and shows detailing. It’s best to schedule your detailing appointment within 1-3 days before the event. This way, your vehicle remains in pristine condition without the risk of gathering dust or debris during transportation.

Should I Hire a Detailer Ahead of an Auto Show?

For larger, multi-day events, it might also be worth considering having a professional on-site to do touch-ups. A few last-minute polishes or spot cleaning can ensure your car continues to look its best throughout the show.

CAN YOU DIY, OR SHOULD YOU HIRE A PRO?

Sure, you could try detailing your car yourself. However, if you’re competing at an auto show, you’re likely up against stiff competition, including professionally restored vehicles. A DIY job just can’t match the results that a pro can achieve with Auto Detailing for shows. The level of detail, the products used, and the experience they bring are unmatched.

If your goal is to have your car look its absolute best, then it’s worth investing in a professional detailing service. Detailers have access to top-tier products, tools, and expertise to deliver a showroom-quality finish that can’t be replicated at home.

CONCLUSION: TRUST THE PROS FOR YOUR NEXT SHOW

Should I Hire a Detailer Ahead of an Auto Show?

As you prepare for your next auto show, remember that professional detailing is an investment that can pay off in spades. From a flawless exterior to a showroom-ready interior, a skilled detailer knows how to make your vehicle stand out.

If you’re looking for upscale auto detailing, don’t hesitate to hire a professional. You’ll be proud of the car you display, and you’ll know you’ve given it the best possible chance to shine. Whether it’s for a local event or a large-scale show, the benefits of professional detailing are undeniable. For more expert insight into preparing vehicles for shows, check out this premium events and shows detailing company in Columbus.

When Should I Ceramic Coat My Car in Ohio?

When Should I Ceramic Coat My Car in Ohio?

Driving through Ohio’s unpredictable weather can really take a toll on your car’s exterior. Rain, snow, road salt, and even the sun’s UV rays are constantly working against your vehicle’s finish. So, what’s the solution? Ceramic coating! But the question is: When should you ceramic coat your car in Ohio? Is there a best time for optimal protection and long-lasting results?

In this post, we’ll dive deep into why timing is crucial for ceramic coating and how to make sure your vehicle gets the most out of this incredible protection method.

Why Ceramic Coating Is a Game-Changer for Ohio Drivers

If you’re an Ohio driver, you’ve likely faced all types of weather—from sweltering summers to icy, salt-covered winter roads. And it’s no secret: these elements can wreak havoc on your car’s paint. That’s where ceramic coating steps in. It’s like adding a tough, invisible shield that protects your car from environmental damage. But that’s not all! It also makes your car’s paint look more vibrant and easier to clean.

Now, here’s the real question: When should I ceramic coat my car in Ohio to get the maximum benefits?

Timing Your Ceramic Coating: Spring and Fall Are Key

While you can apply ceramic coating at any time of the year, experts recommend doing it in spring or fall. Why? Because Ohio’s summer heat and winter cold can affect the curing process, which is vital for a durable ceramic coating.

When Should I Ceramic Coat My Car in Ohio?

Why Spring?

Spring in Ohio offers mild temperatures, which are ideal for ceramic coating application. Not too hot, not too cold. After the harsh winter months, your car is likely in need of a refresh. Salt and road debris may have left tiny scratches or wear on the paint. Ceramic coating in spring ensures that your vehicle is protected before summer’s heat and UV rays come into full effect.

Why Fall?

Fall is another excellent option for ceramic coating. With cooler weather on the horizon, applying a ceramic coating now means your car will be shielded from the brutal Ohio winter. The coating helps to prevent salt, snow, and slush from sticking to your car’s paint. And let’s face it: Ohio winters are long. You’ll want your vehicle protected for the months ahead.

Can I Ceramic Coat in Winter or Summer?

While you can apply a ceramic coating in winter or summer, it comes with challenges. Winter is problematic due to road salt and fluctuating temperatures. Summer, on the other hand, can make the application process trickier because high heat can cause the coating to dry too quickly, leading to uneven coverage. For best results, stick to spring or fall for ceramic coating in Ohio.

How Ceramic Coating Works to Protect Your Car

Ceramic coating creates a bond with your car’s clear coat, providing a hard, hydrophobic (water-repelling) surface. This barrier not only protects your car’s paint from weather but also makes it harder for dirt and grime to stick. The result? Your car stays cleaner for longer and is much easier to wash.

Whether you’re dealing with tree sap in the summer or road salt in the winter, ceramic coating offers all-year protection. Ohio’s tough weather demands a defense system like this, and Expert Mobile Detailing services ensure that your ceramic coating is applied perfectly every time.

Benefits of Ceramic Coating for High-End Cars in Ohio

If you’re driving a high-end car, you know that every little scratch or chip feels like a disaster. And if you’ve invested in mobile detailing for a high-end car, you want that detailing to last as long as possible. That’s why ceramic coating is an excellent choice for luxury vehicles. It protects the value of your car by maintaining its showroom shine and keeping its paint in perfect condition.

For Ohio drivers with luxury or high-performance cars, ceramic coating is almost essential. Not only does it enhance the aesthetic appeal, but it also makes routine cleaning and maintenance much easier.

How Long Does Ceramic Coating Last?

The durability of your ceramic coating depends on various factors, including how often you drive your car, the weather conditions, and the quality of the coating. Typically, a high-quality ceramic coating applied by professionals will last between two to five years. If you’re using Expert Mobile Detailing services, you can expect the ceramic coating to be well-maintained and possibly extend its lifespan with proper aftercare.

DIY Ceramic Coating?

While DIY ceramic coating kits are available, they don’t offer the same level of protection as professional-grade coatings. Professional ceramic coatings bond better to your car’s surface, offering superior durability and shine.

In Ohio, it’s best to rely on a professional service, especially considering the extreme weather conditions. Mobile detailing for high-end cars will ensure that every inch of your vehicle is coated correctly, providing maximum protection and value for your money.

If you’re still unsure about how ceramic coating compares to other paint protection options, check out this expert article on the pros and cons of ceramic coating versus other methods.

How to Maintain Your Car After Ceramic Coating

Once your car is ceramic coated, you’ll need to follow specific care instructions to keep it looking flawless. Here are a few tips to ensure your coating lasts:

  • Wash your car regularly but use gentle, pH-neutral soap.
  • Avoid harsh chemicals or abrasive materials.
  • Use microfiber towels to prevent scratches.
  • Reapply ceramic booster sprays every few months to maintain hydrophobicity.

Conclusion: When Should I Ceramic Coat My Car in Ohio?

To sum up, When should I ceramic coat my car in Ohio? The best time is either spring or fall, when temperatures are mild, and your car is least likely to be exposed to extreme weather conditions. For Ohio’s ever-changing climate, ceramic coating is one of the best investments you can make for your car’s protection.

By scheduling your ceramic coating during the right season and using Expert Mobile Detailing, you’ll not only protect your vehicle but keep it looking brand new for years to come.

How to Professionally Clean a Motorcycle Carburetor

How to Professionally Clean a Motorcycle Carburetor

When it comes to maintaining your motorcycle, one crucial component that often gets overlooked is the carburetor. Did you know that a dirty carburetor can lead to poor engine performance, reduced fuel efficiency, and even stalling? If you want your bike to run smoothly and efficiently, learning how to clean the carburetor is essential. In this post, I’ll guide you through the steps to professionally clean a motorcycle carburetor, ensuring your bike remains in top shape.

How to Professionally Clean a Motorcycle Carburetor

Understanding the Importance of Motorcycle Detailing

Before we dive into the cleaning process, let’s talk about why motorcycle detailing, including carburetor cleaning, is so important. A well-maintained motorcycle not only looks great but also performs better. Regular detailing helps prevent corrosion and build-up, which can lead to costly repairs down the line. In fact, studies show that proper maintenance can extend the lifespan of your motorcycle by years.

Cleaning the carburetor is a key part of this maintenance routine. It ensures that fuel flows freely and the air-fuel mixture is optimal for combustion. Neglecting this part can lead to sluggish performance and even engine damage. So, how do you go about it?

Tools and Materials Needed for Carburetor Cleaning

Before you start, gather the necessary tools and materials. Here’s what you’ll need:

  • Basic hand tools: Wrenches, screwdrivers, and pliers
  • Carburetor cleaner: This specialized solvent dissolves dirt and debris
  • Compressed air: For blowing out passages and orifices
  • Rags or paper towels: For wiping surfaces
  • Small brush: A toothbrush or similar brush works well
  • Safety gear: Gloves and goggles to protect yourself

Having the right tools at hand will make the process smoother and more efficient. Now, let’s get started!

How to Professionally Clean a Motorcycle Carburetor

Step-by-Step Guide to Cleaning a Motorcycle Carburetor

Step 1: Remove the Carburetor

The first step in professional motorcycle cleaning is to remove the carburetor from the motorcycle. This may involve detaching the air intake, fuel lines, and throttle cable. Make sure to take pictures as you go to remember how everything fits together. If you’re unsure about the process, consult your motorcycle’s service manual for specific instructions.

Step 2: Disassemble the Carburetor

Once the carburetor is removed, disassemble it carefully. Pay attention to the order of parts as you remove them. Store small components in labeled containers to avoid losing anything. You’ll typically need to remove the float bowl, jets, and any other parts that are accessible.

Step 3: Clean the Carburetor

Now comes the fun part: cleaning! Use the carburetor cleaner to spray all surfaces, including jets and passages. Let the cleaner sit for a few minutes to dissolve any stubborn deposits. Use the small brush to scrub off any remaining grime.

Step 4: Use Compressed Air

After soaking and scrubbing, blow out all passages with compressed air. This step is crucial for ensuring that no debris is left behind, which could cause problems later. Make sure each passage is clear and free from obstructions.

Step 5: Reassemble the Carburetor

Once everything is clean and dry, reassemble the carburetor in the reverse order of disassembly. Double-check that all parts are in their correct places and securely fastened. This step is critical; a poorly assembled carburetor can lead to leaks and performance issues.

Step 6: Reinstall the Carburetor

With the carburetor cleaned and reassembled, it’s time to reinstall it on your motorcycle. Reconnect the air intake, fuel lines, and throttle cable. Again, refer to your service manual for specific instructions if needed.

Step 7: Test the Motorcycle

Once everything is back in place, start your motorcycle and let it idle for a few minutes. Pay attention to how it runs; any strange noises or fluctuations in idling may indicate an issue that needs further attention.

Why You Should Consider Professional Motorcycle Cleaning

While cleaning your carburetor can be a rewarding DIY project, there are times when hiring a professional is the best option. If you’re not comfortable with mechanical work or lack the time to devote to a thorough cleaning, consider reaching out to a motorcycle detailing service. The best motorcycle detailing professionals have the tools and expertise to get the job done right.

Not only do they save you time, but they can also identify potential issues that you might miss. Their trained eyes and experience can provide a level of cleaning and maintenance that is hard to replicate at home. Plus, professional motorcycle cleaning often includes a comprehensive inspection of other components, ensuring your bike is in peak condition.

Conclusion

Cleaning a motorcycle carburetor is an essential part of motorcycle detailing that can significantly impact performance. By following the steps outlined above, you can achieve a clean and well-functioning carburetor. However, if you’re looking for convenience and expertise, don’t hesitate to hire a detailer. They can provide the best motorcycle detailing services, ensuring your bike runs smoothly and efficiently for years to come.

For more expert insights on motorcycle maintenance, check out this detailed article on motorcycle care.

How to Clean My RV Roof and Awning

How to Clean My RV Roof and Awning: A Complete Guide

Owning an RV gives you the freedom to hit the open road and explore, but it also comes with its fair share of maintenance. One critical part that many RV owners overlook is cleaning the roof and awning. Did you know that a dirty roof and awning can cause costly damage to your RV’s exterior and interior? Regular cleaning is essential to prolong the life of these parts. But how do you go about it effectively?

Let’s dive into this complete guide on how to clean your RV roof and awning, and why you should consider hiring a professional Exterior RV Detailing service.

Why Cleaning Your RV Roof and Awning is Crucial

Many RV owners focus on washing the sides and tires, but the roof and awning often get ignored. These areas are exposed to the elements daily, which leads to dirt, debris, mold, and mildew buildup. Left untreated, this can damage the roof seals and create an unsightly, unhealthy environment inside your RV.

Not only does regular cleaning keep your RV looking great, but it also helps prevent long-term damage. However, cleaning these areas yourself can be risky if you don’t have the right tools or experience. Let’s explore the steps to clean your RV roof and awning safely and efficiently.

Step-by-Step Guide to Cleaning Your RV Roof

Cleaning your RV roof is the first step in proper Exterior RV Detailing. Here’s how to get started:

1. Gather Your Supplies

Before you begin, you’ll need the right cleaning tools. Here’s a list of what you’ll need:

  • Soft-bristled brush
  • Non-abrasive RV roof cleaner
  • Bucket of water
  • Hose with a spray nozzle
  • Protective gloves

Make sure the cleaning solution you choose is safe for your RV’s roof material, whether it’s rubber, fiberglass, or aluminum.

2. Rinse and Clean the Roof

Start by rinsing off loose dirt and debris from the roof. Then, apply your RV roof cleaner, scrubbing gently with the soft-bristled brush to remove grime and mildew. Always move in a circular motion to avoid damaging the roof surface.

Don’t forget to pay special attention to the roof seals and vents to ensure no dirt builds up around these areas.

3. Rinse and Dry

Once you’ve scrubbed the entire roof, rinse thoroughly with your hose. Make sure no soap residue is left behind, as this can attract dirt in the future. Let the roof air dry completely before inspecting for any signs of wear or damage.

How to Clean Your RV Awning

Next, we’ll clean the awning, which is another essential part of Exterior RV Detailing. A dirty awning can affect not only your RV’s aesthetics but also its functionality. Here’s what you’ll need:

  • Mild soap or specialized awning cleaner
  • Soft brush or sponge
  • Hose
  • Protective spray (optional)

1. Extend the Awning Fully

First, make sure the awning is fully extended so you can access all parts of the fabric. You may want to stabilize the awning arms to prevent movement while cleaning.

2. Clean Both Sides

Using a mild soap or awning cleaner, apply the solution with a soft brush or sponge, making sure to clean both sides of the awning. This helps remove mold, mildew, and stains that have accumulated over time.

3. Rinse Thoroughly and Let Dry

After scrubbing, rinse the awning thoroughly with a hose to ensure no soap remains. Allow the awning to air dry completely before retracting it to avoid mold and mildew from forming again.

For extra protection, you can apply a fabric protectant spray to keep your awning looking like new for longer.

Why You Should Hire a Professional Exterior RV Detailing Service

While cleaning your RV roof and awning can be done on your own, there’s a lot of risk involved. If you don’t have the proper equipment or experience, you could end up damaging the roof, seals, or awning fabric. Hiring a professional Exterior RV Detailing service ensures that your RV is cleaned safely and effectively.

Professionals have the expertise to handle different roof materials and the right products for deep cleaning, saving you time and preventing costly mistakes. Additionally, a professional rv cleaning service can check for damage and make necessary repairs before they become bigger issues.

Looking for reliable camper detailing near me? Hiring a professional means peace of mind knowing your RV is in expert hands. You won’t have to worry about climbing up onto the roof or using the wrong products.

If you’re considering professional help, here’s a great article on why maintaining your RV’s exterior is important.

Conclusion

Maintaining your RV roof and awning is crucial to the longevity of your RV. Regular cleaning can prevent costly repairs and keep your RV looking its best. While it’s possible to do the job yourself, hiring a professional rv mobile detailing service will save you time and ensure the job is done right.

Don’t wait until it’s too late – protect your investment today with professional Exterior RV Detailing.

Remember, regular maintenance is key to enjoying your RV adventures for years to come!

How to clean my RV Roof and Awning

How to Clean My RV Roof and Awning: A Complete Guide

Owning an RV gives you the freedom to hit the open road and explore, but it also comes with its fair share of maintenance. One critical part that many RV owners overlook is cleaning the roof and awning. Did you know that a dirty roof and awning can cause costly damage to your RV’s exterior and interior? Regular cleaning is essential to prolong the life of these parts. But how do you go about it effectively?

Let’s dive into this complete guide on how to clean your RV roof and awning, and why you should consider hiring a professional Exterior RV Detailing service.

Why Cleaning Your RV Roof and Awning is Crucial

Many RV owners focus on washing the sides and tires, but the roof and awning often get ignored. These areas are exposed to the elements daily, which leads to dirt, debris, mold, and mildew buildup. Left untreated, this can damage the roof seals and create an unsightly, unhealthy environment inside your RV.

Not only does regular cleaning keep your RV looking great, but it also helps prevent long-term damage. However, cleaning these areas yourself can be risky if you don’t have the right tools or experience. Let’s explore the steps to clean your RV roof and awning safely and efficiently.

Step-by-Step Guide to Cleaning Your RV Roof

Cleaning your RV roof is the first step in proper Exterior RV Detailing. Here’s how to get started:

1. Gather Your Supplies

Before you begin, you’ll need the right cleaning tools. Here’s a list of what you’ll need:

  • Soft-bristled brush
  • Non-abrasive RV roof cleaner
  • Bucket of water
  • Hose with a spray nozzle
  • Protective gloves

Make sure the cleaning solution you choose is safe for your RV’s roof material, whether it’s rubber, fiberglass, or aluminum.

2. Rinse and Clean the Roof

Start by rinsing off loose dirt and debris from the roof. Then, apply your RV roof cleaner, scrubbing gently with the soft-bristled brush to remove grime and mildew. Always move in a circular motion to avoid damaging the roof surface.

Don’t forget to pay special attention to the roof seals and vents to ensure no dirt builds up around these areas.

3. Rinse and Dry

Once you’ve scrubbed the entire roof, rinse thoroughly with your hose. Make sure no soap residue is left behind, as this can attract dirt in the future. Let the roof air dry completely before inspecting for any signs of wear or damage.

How to Clean Your RV Awning

Next, we’ll clean the awning, which is another essential part of Exterior RV Detailing. A dirty awning can affect not only your RV’s aesthetics but also its functionality. Here’s what you’ll need:

  • Mild soap or specialized awning cleaner
  • Soft brush or sponge
  • Hose
  • Protective spray (optional)

1. Extend the Awning Fully

First, make sure the awning is fully extended so you can access all parts of the fabric. You may want to stabilize the awning arms to prevent movement while cleaning.

2. Clean Both Sides

Using a mild soap or awning cleaner, apply the solution with a soft brush or sponge, making sure to clean both sides of the awning. This helps remove mold, mildew, and stains that have accumulated over time.

3. Rinse Thoroughly and Let Dry

After scrubbing, rinse the awning thoroughly with a hose to ensure no soap remains. Allow the awning to air dry completely before retracting it to avoid mold and mildew from forming again.

For extra protection, you can apply a fabric protectant spray to keep your awning looking like new for longer.

Why You Should Hire a Professional Exterior RV Detailing Service

While cleaning your RV roof and awning can be done on your own, there’s a lot of risk involved. If you don’t have the proper equipment or experience, you could end up damaging the roof, seals, or awning fabric. Hiring a professional Exterior RV Detailing service ensures that your RV is cleaned safely and effectively.

Professionals have the expertise to handle different roof materials and the right products for deep cleaning, saving you time and preventing costly mistakes. Additionally, a professional rv cleaning service can check for damage and make necessary repairs before they become bigger issues.

Looking for reliable camper detailing near me? Hiring a professional means peace of mind knowing your RV is in expert hands. You won’t have to worry about climbing up onto the roof or using the wrong products.

If you’re considering professional help, here’s a great article on why maintaining your RV’s exterior is important.

Conclusion

Maintaining your RV roof and awning is crucial to the longevity of your RV. Regular cleaning can prevent costly repairs and keep your RV looking its best. While it’s possible to do the job yourself, hiring a professional rv mobile detailing service will save you time and ensure the job is done right.

Don’t wait until it’s too late – protect your investment today with professional Exterior RV Detailing.

Remember, regular maintenance is key to enjoying your RV adventures for years to come!